
Save Your Money and Refurbish Your Furniture!
repurpose with purpose
Do you ever get tired of staring at the same thing in your space for too long? Ever see a really cool piece of furniture at the flea market, a garage sale, or maybe even sitting on the side of the road? A part of you is telling you to get it but the other is torn because it’s cheap but doesn’t match that LOOK you’re going for. Well have no fear because refurbishing furniture can be very simple if you know where to start.
In the first episode “An Island is Forever” of “One Week to Sell” we found this amazing buffet on the side of the road. Now I know it might not look like much but with a little (maybe a lot) of love it will have a completely new life.

BEFORE

AFTER

STEP 1. SANDING
You always want to start off by sanding down the old paint or finish of the piece. This will ensure that whatever you paint over it will adhere to the surface.
Depending on the surface you might want to start with a lower grit sandpaper then move up to a finer grit in order to give it a smooth finish.
After sanding down the old finish of the piece wipe off the dust and particles, leaving you with a smooth and clean piece to paint over.

STEP 2. PRIMING
Depending on the material that you want to paint over it is critical that you prime your surfaces so that the paint does not peel off. The primer will help the paint stick to the surfaces.
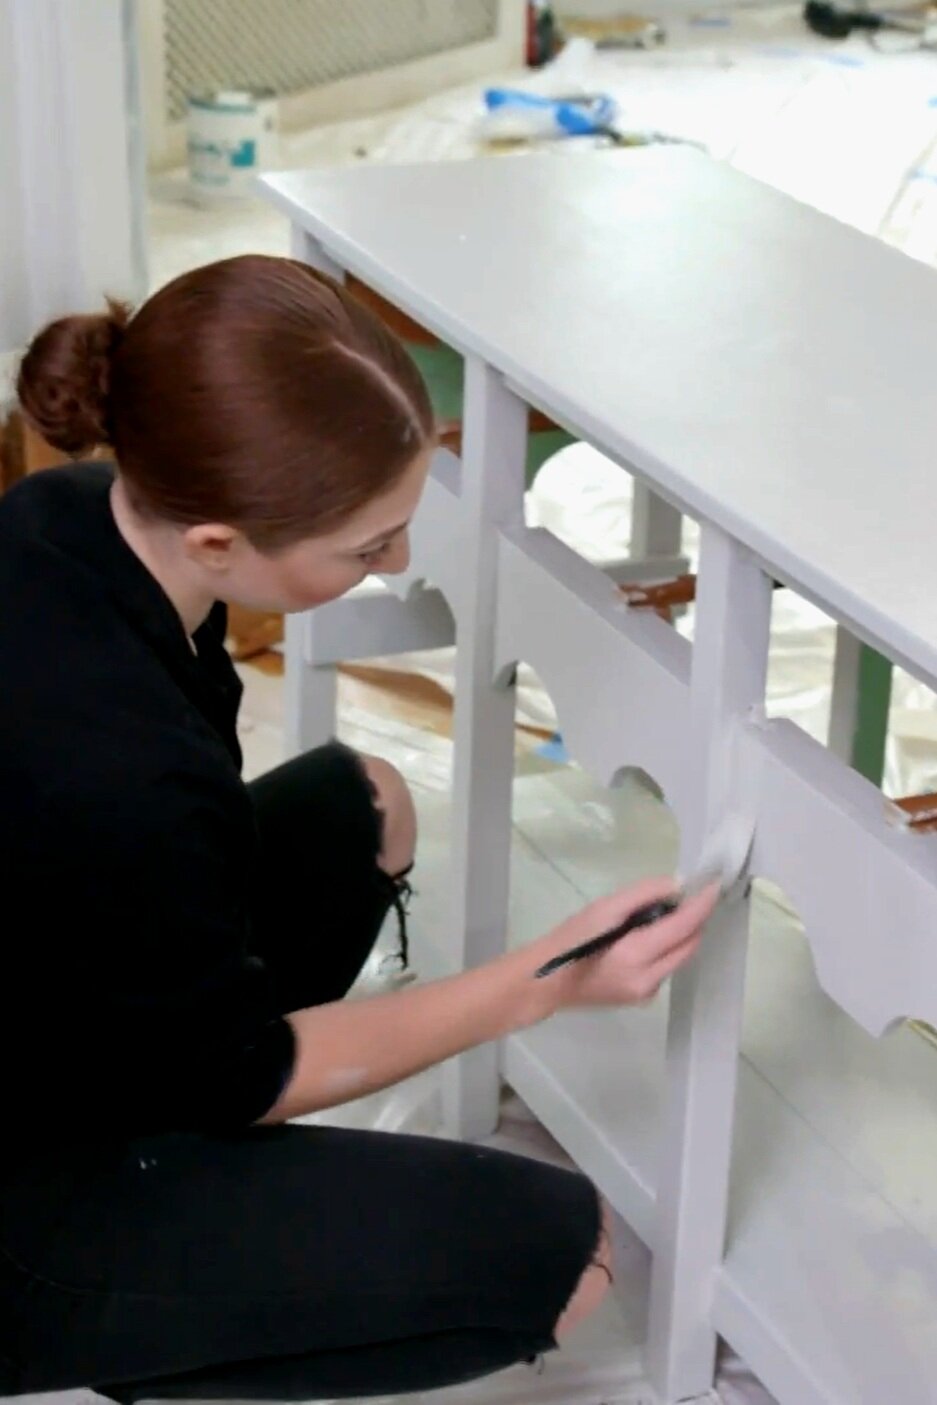
STEP 3. PAINT
This will probably be the most difficult step only because you have to be patient. by using a foam roller or a paint brush, carefully cover the piece in your desired paint color/finish and make sure to LET IT DRY between coats.
If you are too eager to slap on the next layer of paint this can result in streaks and will cause the wet first layer to drag.
Have patience and you will be left with the best results.

STEP 4. SEAL IT
Depending on the project, you might want to add a protective finish over your final layer of paint. This is help seal everything in and also make the piece resistant to water and reduce scratches that occur over time.

STEP 5. PERSONALIZE
Now this step is completely optional, but depending on the furniture piece that you are refurbishing you can change out the knobs to give it a new look.
That’s all there is to it!
Refinishing your furniture can seem like a daunting task, but with the right mindset it’s super easy and rewarding to see the end results!
To continue watching stream “One Week to Sell’ on Discovery+